How to Fix a Silverado Rough Idle (Step-by-Step)
Silverado rough idle conditions often indicate underlying mechanical or electronic issues that require immediate attention to prevent engine damage. This in-depth guide on how to fix a Silverado rough idle step-by-step will help you identify the primary causes including vacuum leaks, dirty sensors, and the detrimental effects of cylinder deactivation. By following the technical expertise found at gadon.store, you can maintain smooth performance and avoid expensive repair bills while ensuring your truck operates with full V8 power.
Gadon™ AFM/DFM Disabler
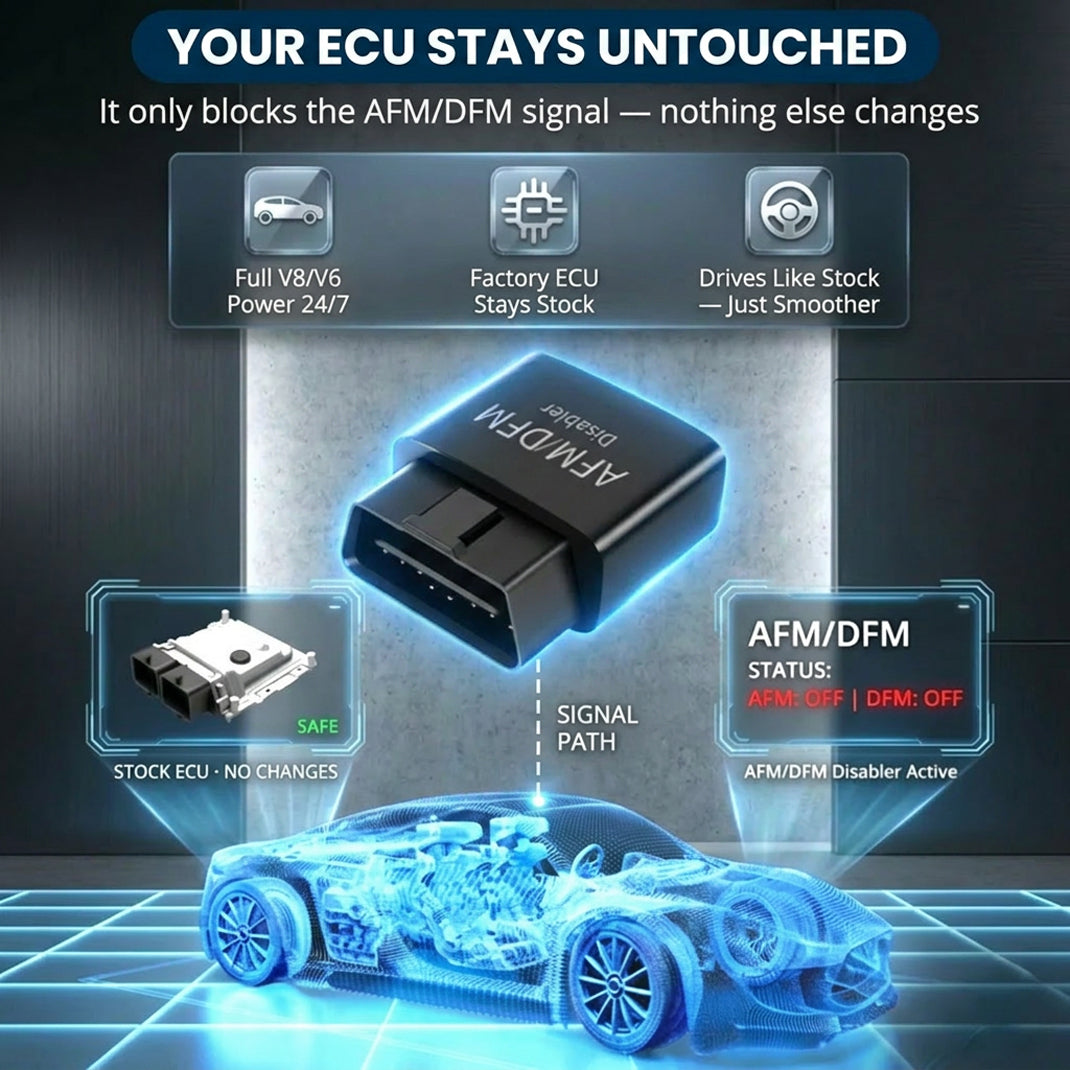
This compact OBD2 plug-in device keeps your GM engine operating in full V8 mode. It prevents rough shifting, torque converter shudder, and saves you from 5,000 dollar plus lifter repair bills without reprogramming your ECU. Our team at Gadon.store is ready to help you confirm compatibility for your vehicle.
Why Proper Idling Maintenance is Crucial? A Direct Impact on V8 Performance and Engine Lifespan
Maintaining a stable idle is the foundation of engine longevity for any General Motors truck or SUV. A rough idle is more than just a minor vibration; it often signals that the air-fuel mixture or the ignition timing is inconsistent. For owners of vehicles equipped with Active Fuel Management or Dynamic Fuel Management, these inconsistencies can accelerate wear on critical internal components like the valve lifters. When the engine stumbles at a stoplight, the variable displacement system may struggle to stabilize, leading to increased carbon buildup and mechanical stress.

Using a Gadon AFM/DFM disabler correctly ensures your GM engine stays in full V8 mode, delivering smooth, lag-free performance and extending the engine lifespan by preventing costly 5,000 dollar plus lifter failures caused by constant cylinder switching.
- Preventing premature lifter collapse and bent pushrods in 5.3L and 6.2L engines.
- Eliminating the annoying vibration and shudder felt during low-speed cruising.
- Reducing excessive oil consumption associated with V4 mode operation.
- Improving overall throttle response and power delivery from a complete stop.
Need Help Checking Vehicle Compatibility? Gadon.store is Ready 24/7
In just 2 minutes, our expert team can confirm if the Gadon™ AFM/DFM Disabler fits your exact year and model.
A Detailed 3-Step Guide to Using Advanced Performance Modules for GM Owners
Achieving a smooth idle and consistent performance does not require a background in mechanical engineering. Many modern idling issues on Silverado and Sierra models are linked to the transition between cylinder modes. By utilizing a plug-and-play module, you can bypass the software-driven cylinder deactivation that often causes the engine to feel unstable at low RPMs. This process is designed to be completely non-invasive, meaning no factory wires are cut and no permanent changes are made to the engine control unit. Most owners complete this optimization in under a minute without using any specialized tools or equipment.
Step 1: Unbox and Locate the OBD2 Port
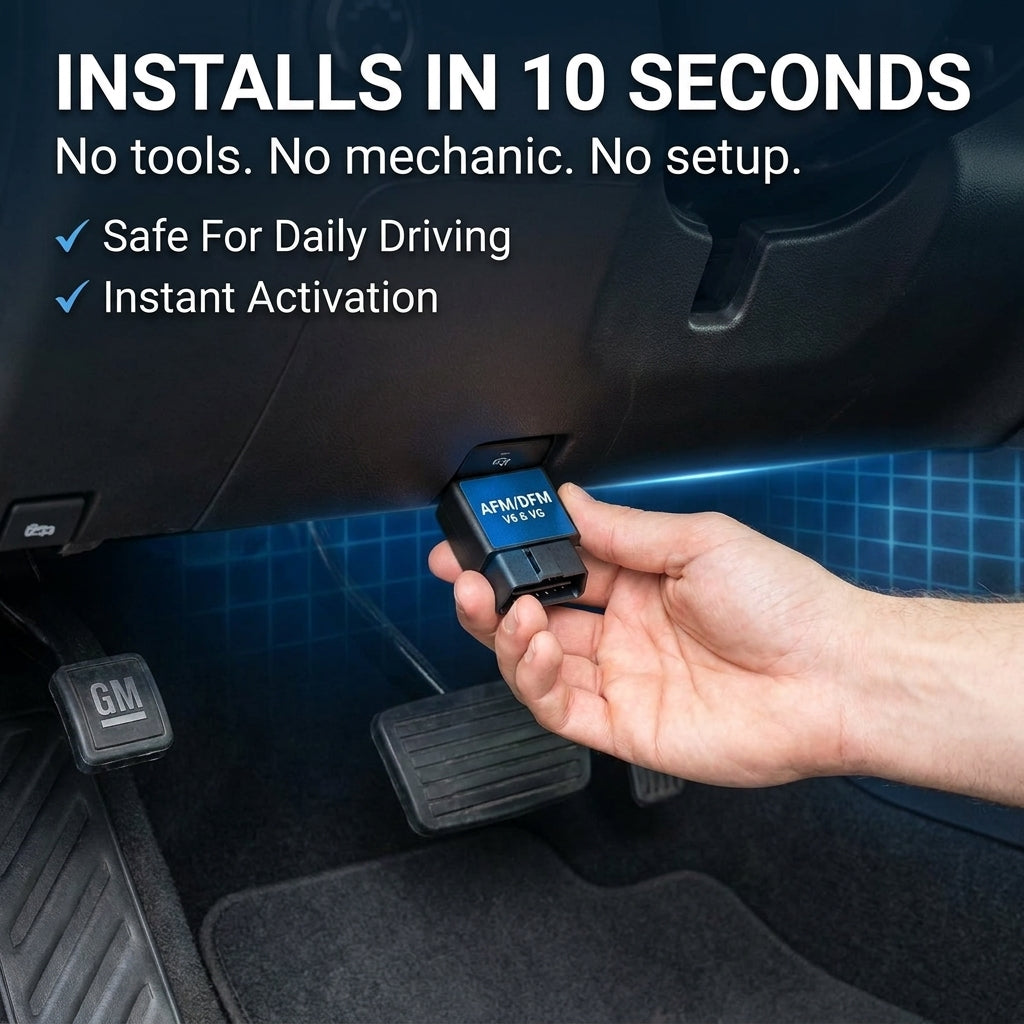
First, locate the OBD2 diagnostic port inside your GM truck or SUV, usually found under the driver side dashboard. Ensure your vehicle engine is completely turned off before proceeding. This port is the universal access point for vehicle communications and provides the necessary power for the performance module. You should clear any dust or debris from the port area to ensure a stable electrical connection. The location is typically near the hood release latch or the steering column, making it easily accessible while sitting in the driver seat. Confirming the port is clean prevents communication errors between the device and the onboard computer system.
Step 2: Plug the Device Securely
Take your Gadon™ AFM/DFM Disabler and push it firmly into the port. There are no tools required for this installation. You will notice the indicator lights flash, confirming it has successfully connected to the ECU and is receiving power. The module is designed with a specific orientation, so it will only fit one way. Do not force the device; if it does not slide in easily, check the alignment of the pins. Once the lights stabilize, the module is actively communicating with the fuel management system to keep all cylinders firing. This physical connection is secure enough to withstand vibrations from rough terrain or daily commuting without coming loose.
Step 3: Start the Engine and Experience Full V8 Power
Start your engine and observe the tachometer. The device instantly blocks the cylinder deactivation signals without rewriting the factory software. You can now drive normally, experiencing immediate smoother throttle response, no lag, and consistent V8 power on every drive. You will likely notice the absence of the typical V4 to V8 transition shudder that causes many idling complaints. The engine will maintain a steady rhythm at stoplights, and the power delivery during acceleration will feel more linear. Because the factory settings are not permanently altered, the vehicle will return to stock operation immediately if the module is unplugged from the port.
Advanced Tips: Understanding AFM/DFM on GM Vehicles
General Motors introduced Active Fuel Management and later Dynamic Fuel Management to improve fleet fuel economy. While effective for EPA ratings, these systems introduce mechanical complexity that can lead to significant issues. Understanding how these systems interact with your engine components is vital for any Silverado or Sierra owner. The constant cycling of internal parts under high pressure and varying temperatures creates a unique environment where minor idling fluctuations can escalate into major failures. Experts recommend a proactive approach to managing these systems to preserve the structural integrity of the V8 engine block and its valvetrain components over the long term.
How Cylinder Deactivation Causes Lifter Failure
The constant switching between V4 and V8 modes creates uneven wear on the active lifters. Over time, this leads to premature lifter failure, bent pushrods, and costly engine rebuilds that can exceed 5,000 dollars. When a cylinder is deactivated, the lifters are physically locked to prevent the valves from opening. If this mechanism fails to unlock correctly or becomes stuck due to oil pressure variations, the resulting mechanical interference can destroy the camshaft and the engine top end. Keeping all cylinders active ensures uniform heat distribution and oil flow across all internal parts, significantly reducing the risk of a catastrophic mechanical breakdown during normal operation.
Eliminating Transmission Shudder at Cruising Speeds
Many drivers experience a noticeable shudder or vibration at 35 to 60 mph. By keeping the engine in full-cylinder mode, the Gadon module balances the torque, eliminating the awkward gear-searching behavior entirely. This shudder often occurs because the torque converter clutch struggles to manage the pulsing power delivery of an engine running on only four cylinders. By maintaining constant V8 torque, the transmission remains in its optimal gear for longer periods, reducing internal heat and wear. This result not only fixes the vibration but also provides a more confident driving experience when merging onto highways or towing heavy loads with your GM truck.
Troubleshooting Common Issues with Silverado Performance
Even with advanced performance modules, vehicles may occasionally exhibit symptoms that require a closer look. Troubleshooting a rough idle involves checking both the physical sensors and the electronic interfaces. Most issues are related to simple maintenance items like a dirty mass airflow sensor or a minor vacuum leak in the intake manifold. Addressing these concerns promptly ensures the performance module can function effectively. Our technical team has compiled a list of common questions and solutions based on feedback from thousands of GM owners who have successfully restored their vehicle performance using these diagnostic steps.
- Why are the lights on the device not turning on? Solution: Check the vehicle OBD2 fuse which is often shared with the cigarette lighter. If the fuse is blown, the port will not provide power to the Gadon module.
- Will the module drain the truck battery? Solution: The device draws a very minimal amount of power on standby. However, if you plan to leave your truck parked for several weeks, we recommend unplugging it to be safe.
- Do I need to unplug it before taking it to the dealership? Solution: Yes, simply unplug the Gadon disabler before your service visit. Since it leaves zero trace and does not flash the ECU, your factory warranty remains fully intact.
- What if the rough idle persists after installation? Solution: Inspect the throttle body for carbon buildup. A dirty butterfly valve can restrict airflow at idle regardless of the cylinder mode.
Which Gadon™ AFM/DFM Disabler Package is Right for You? Expert Advice

Selecting the appropriate package depends on your specific needs and the size of your vehicle fleet. For personal use on a single daily driver, the 1 Pack Gadon™ Disabler is the reliable choice. You will feel the V8 difference immediately after installation. If you own a Silverado and your spouse drives a Tahoe, the 2 Packs package is ideal, offering a 15 percent discount for a dual-vehicle upgrade. This is our most popular option for families who want to protect multiple investments from the risks of cylinder deactivation. For commercial fleets or professional mechanics, the 3 Packs option offers a 25 percent discount, ensuring all your work trucks are protected against lifter failure.
| Product Package | Target User | Included Items | Reference Price |
|---|---|---|---|
| Single Unit Pack | Single Truck Owners | 1x Gadon™ AFM/DFM Module | 99.99 dollars with code |
| Double Unit Pack | Two Vehicle Households | 2x Gadon™ AFM/DFM Modules | 15 percent discount |
| Triple Unit Pack | Fleet Management | 3x Gadon™ AFM/DFM Modules | 25 percent discount |
| Guarantee Plan | Security Conscious | Full Refund Option | 90 Days Duration |
| Logistics Service | Standard Orders | Global Delivery | Free Shipping |
| Model Check | New Customers | Expert Verification | Free via Messaging |
| Direct Support | Technical Help | Phone Consultation | Free Service |
| Lifter Protection | Long Term Care | Active Mode Maintenance | Included Benefit |
Every purchase from Gadon.store includes our 90-Day Guarantee and Free Shipping. Use code WELCOME to get an extra 10 percent OFF today! Our team provides dedicated after-sales support to ensure you are completely satisfied with the performance of your vehicle. Investing in these modules now is a proactive step toward avoiding the thousands of dollars in repairs typically associated with the failure of Active Fuel Management components in high-mileage trucks.
Gadon™ AFM/DFM Disabler
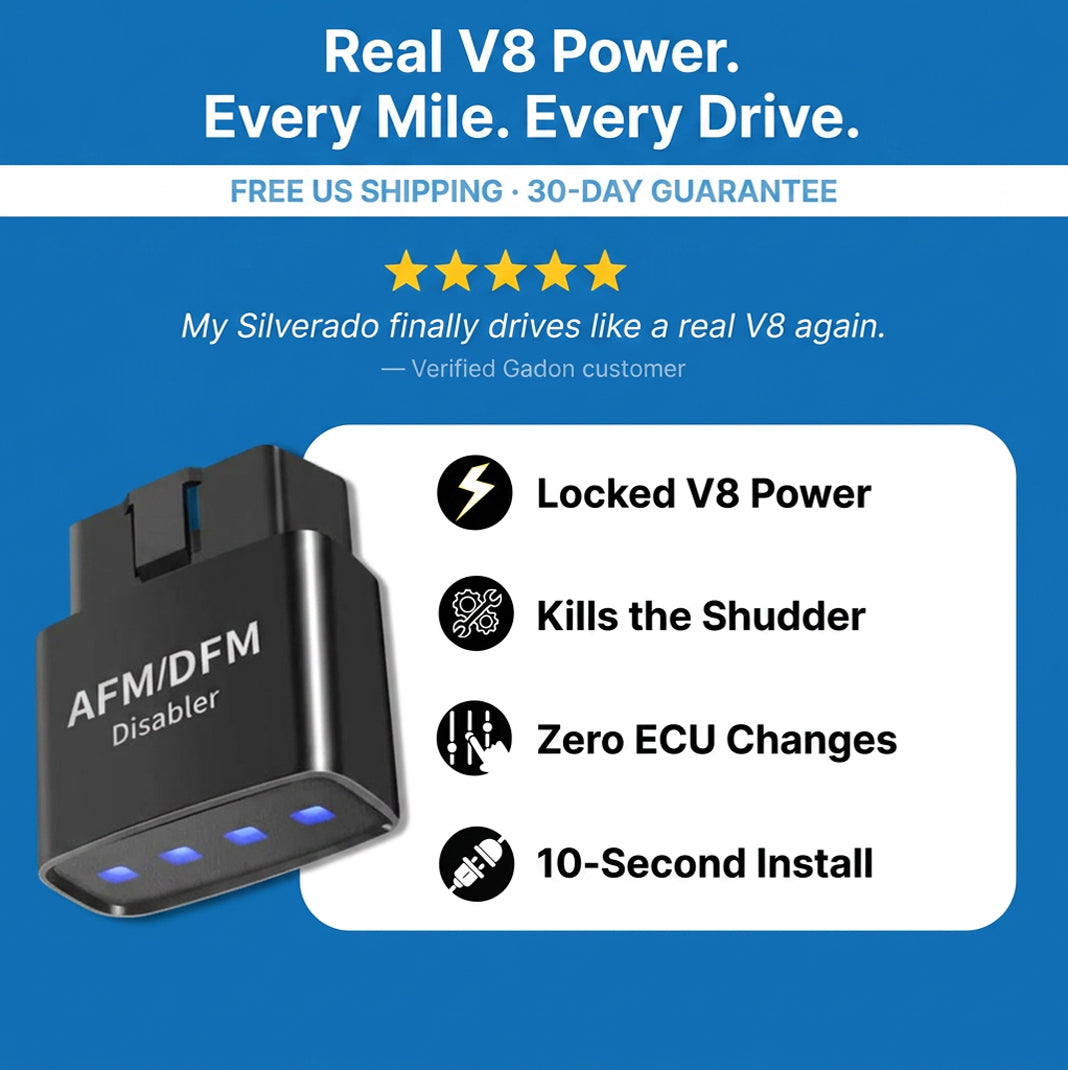
This smart module blocks your GM vehicle V4 mode, preventing sudden hesitations, oil burning issues, and devastating lifter collapses. Easy to install and remove, it preserves your engine health while protecting your factory warranty.
Quick FAQs on Gadon AFM/DFM Disablers
- Will it void my GM warranty or trigger a Check Engine Light? No. The Gadon disabler does not reprogram your ECU or flash the computer. Simply unplug it before taking it to the dealership, and it leaves zero trace. Your factory warranty stays intact and it will not trigger a warning light.
- Will it fit my specific truck model? Yes, it is compatible with a wide range of GM models manufactured between 2005 and modern versions, including the Silverado, Tahoe, Sierra, Yukon, Escalade, and Suburban. It works with V6 and V8 engines equipped with AFM or DFM.
- Will this actually save my engine from 5,000 dollar plus repairs? Absolutely. AFM/DFM cylinder deactivation is a leading cause of premature lifter failure. By keeping the engine firing on all cylinders uniformly, the Gadon device prevents the uneven wear that leads to expensive engine rebuilds.
- When will I feel the difference while driving? Within the first mile. Most drivers report an immediate elimination of shudder at cruising speeds, smoother throttle response, stronger acceleration from a dead stop, and an overall better driving experience.
- How hard is the installation process? It takes less than 10 seconds. You need absolutely no tools and no mechanical experience. If you can plug a charger into your phone, you can plug the Gadon module into your truck OBD2 port.
Need Help Checking Vehicle Compatibility? Gadon.store is Ready 24/7
In just 2 minutes, our expert team can confirm if the Gadon™ AFM/DFM Disabler fits your exact year and model.
Protect Your GM Engine and Regain Full V8 Power with Gadon.store
At Gadon.store, we provide a reliable, plug-and-play solution that unleashes your engine true V8 potential while protecting it from expensive lifter failures. We are committed to high-quality performance modules, zero ECU tracing, and excellent customer support. Upgrade your ride and drive with confidence knowing your engine is safe. Call our support hotline now at +1 813-408-1627 or order directly from our website to secure your vehicle today!
Disclaimer: The instructions and prices in this article are for reference at the time of publishing and are subject to change. Please contact Gadon.store directly for the most current information. Always ensure your vehicle is parked safely before interacting with the OBD2 port. Contact Gadon.store for precise support for your GM vehicle.