The Best AFM Disablers: Protect Your V8 Engine
Using an AFM/DFM disabler module is the optimal solution for achieving smooth, lag-free V8 power in your GM truck or SUV, preventing annoying transmission shudder and disastrous lifter failures. This in-depth guide from the technical experts at gadon.store provides a detailed price breakdown of our packages, along with pro techniques for ensuring your vehicle runs safely and efficiently, helping you master the setup and successfully extend your engine lifespan over many miles of daily heavy road usage.
Need Help Checking Vehicle Compatibility? Gadon.store is Ready 24/7
In just 2 minutes, our expert team can confirm if the Gadon™ AFM/DFM Disabler fits your exact year and model.
Why Proper Cylinder Deactivation Bypass is Crucial? A Direct Impact on V8 Performance and Engine Lifespan
Using a Gadon AFM/DFM disabler correctly ensures your GM engine stays in full V8 mode, delivering smooth, lag-free performance and extending the lifespan of the engine by preventing costly lifter failures caused by constant cylinder switching.
Active Fuel Management is a technology developed to reduce fuel consumption during highway cruising. It deactivates four cylinders of the V8 engine under light loads. Dynamic Fuel Management is a more complex version of this system. It can deactivate different combinations of cylinders based on immediate demand.
While these systems save a small amount of fuel, they introduce massive mechanical complications. The constant switching between modes creates severe imbalances. It places unequal thermal load on the cylinder heads. This uneven heat distribution causes components to expand and contract at different rates.
Furthermore, cylinder deactivation changes the path of exhaust gas recirculation. It leads to increased carbon buildup on the valves. The piston rings in the deactivated cylinders experience oil passage issues. Over time, this leads to excessive oil consumption. Truck owners often notice their engines burning oil rapidly.
The most severe issue is mechanical lifter failure. Deactivated lifters rely on special spring-loaded pins. These pins lock and unlock to control valve movement. When oil pressure fluctuates, the pins fail to engage properly. This leads to a collapsed lifter. A collapsed lifter can bend pushrods and destroy the camshaft. Repairing this damage is incredibly expensive. It easily costs over five thousand dollars at professional workshops.
Bypassing this system keeps your engine in continuous eight cylinder mode. This simple change balances engine temperatures. It maintains consistent oil pressure across all lifters. It eliminates the mechanical wear from constant cylinder transitions.
Consider these critical factors regarding fuel systems:
- Continuous cylinder switching accelerates mechanical fatigue in active lifters.
- Uneven combustion temperatures degrade spark plugs and cause premature fouling.
- Oil consumption increases significantly due to vacuum forces in dormant cylinders.
- Cylinder transition lag reduces immediate power when accelerating onto busy highways.
- The monetary cost of replacing damaged internal valvetrain components exceeds the price of prevention by forty times.
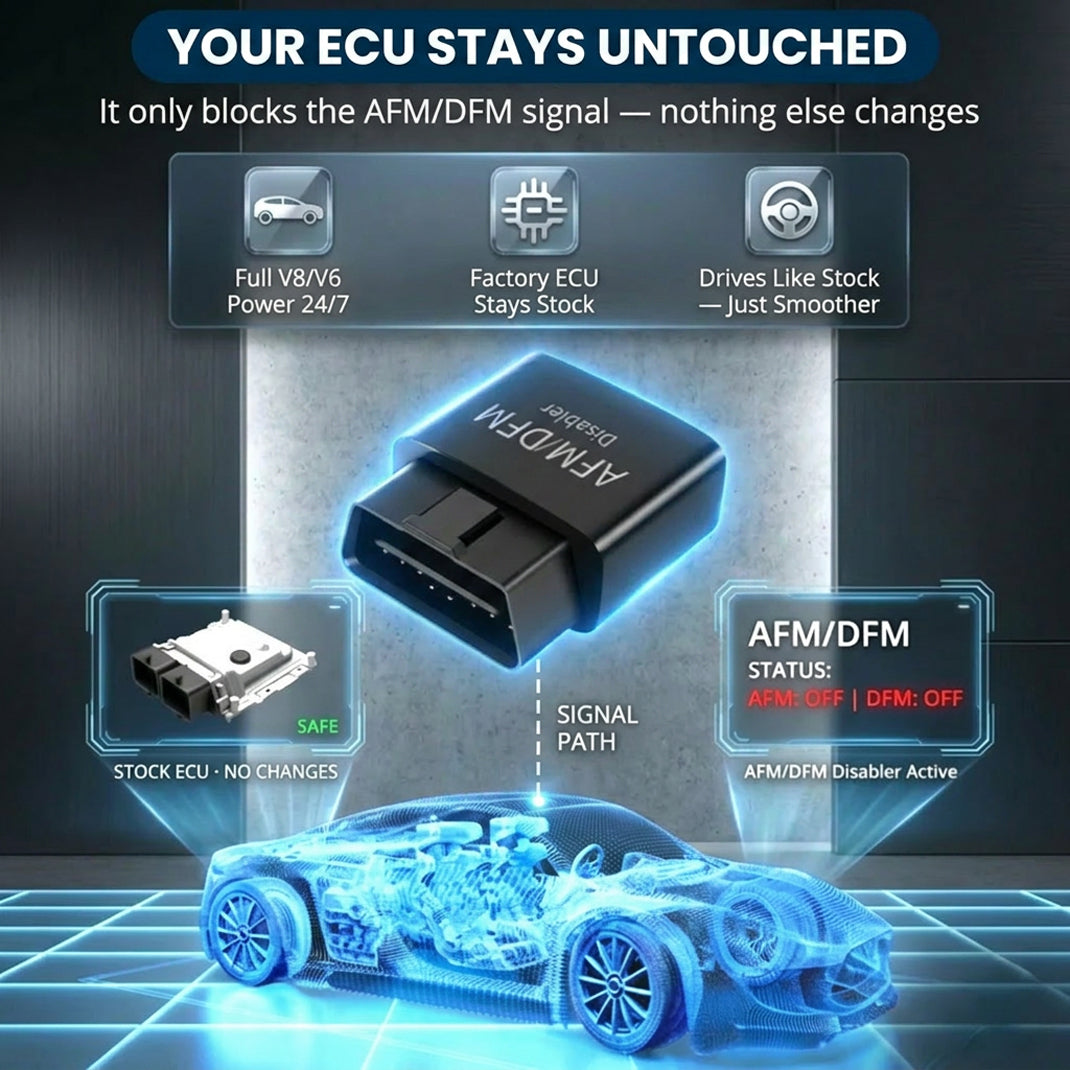
Gadon™ AFM/DFM Disabler
This compact OBD2 plug-in device keeps your GM engine operating in full V8 mode. It prevents rough shifting, torque converter shudder, and saves you from lifter repair bills without reprogramming your ECU. Our team at Gadon.store is ready to help you confirm compatibility for your vehicle.
A Detailed 3-Step Guide to Using Disabler Modules for GM Owners
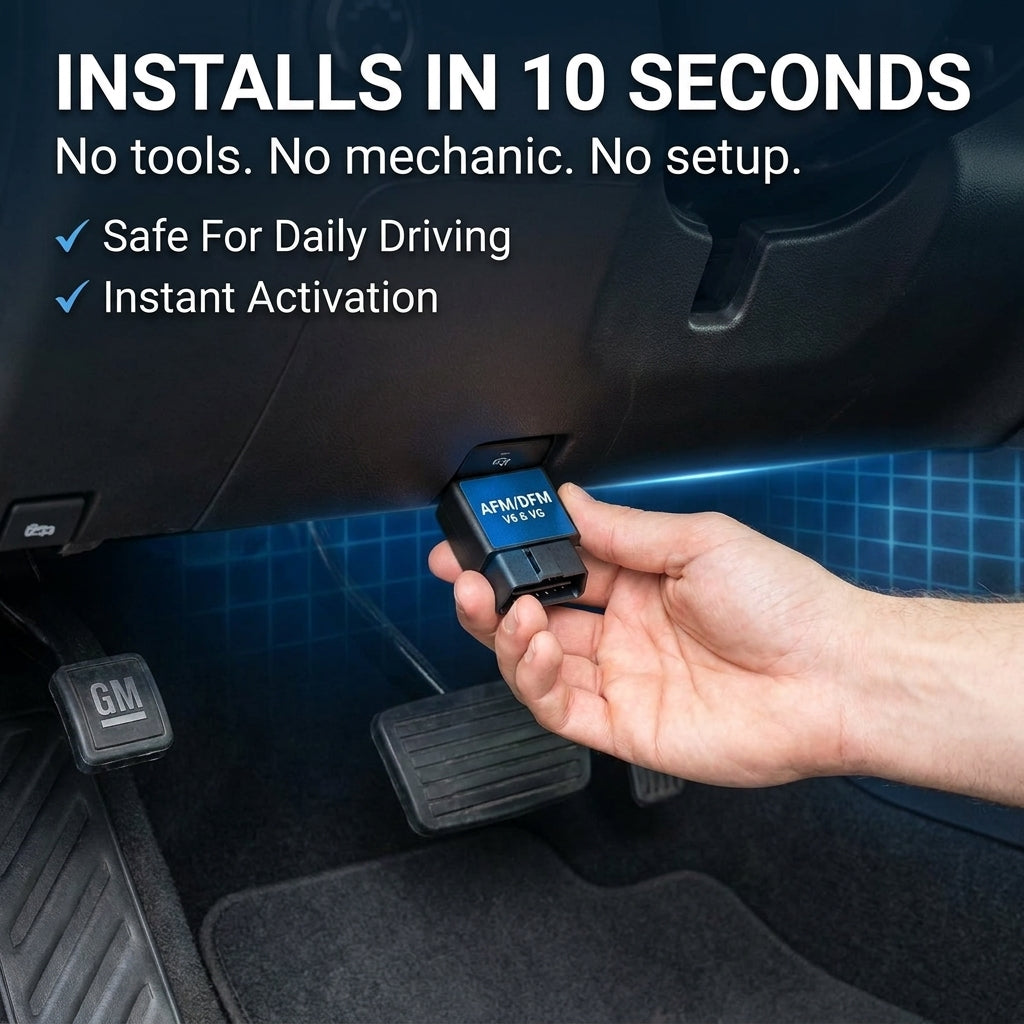
Installing the Gadon AFM/DFM disabler module takes less than ten seconds and requires absolutely no tools or mechanical background. You simply plug the device directly into the OBD2 diagnostic port located under the steering wheel and start driving immediately in full V8 mode.
Installing an AFM/DFM disabler is incredibly straightforward. It does not require special training. You do not need to visit a professional mechanic. The process is fully plug and play. It is designed for everyday truck owners.
Step 1: Unbox and Locate the OBD2 Port
First, carefully unpack your new Gadon module. Make sure your vehicle ignition is completely off. Sit in the driver seat and look under the dashboard. You will find the OBD2 diagnostic port directly below the steering column. This port is standard on all modern vehicles. It has a trapezoidal shape with sixteen female pins. Ensure the port is clean and free of dust before proceeding.
- Sit comfortably in the driver seat and locate the plastic lower steering panel.
- Look underneath the dash cover, slightly to the left of the brake pedal assembly.
- Confirm that there are no aftermarket devices already plugged into this connector interface.
Step 2: Plug the Device Securely
Hold the module firmly. Align the pins of the connector with the OBD2 port. Push the device straight in until it sits completely flush. You do not need to force it. The connection should feel tight and secure. You will notice the built-in diagnostic lights begin to flash. This visual signal confirms the module is receiving stable power and communicating with the engine control unit.
- Align the wider side of the trapezoid shape with the corresponding connector slot.
- Apply firm, even pressure until the plastic housing clicks tightly into place.
- Observe the green LED diagnostics illuminate to verify successful power transmission.
Step 3: Start the Engine and Experience Full V8 Power
Once the lights flash, turn your key or press the start button. Start the engine as you normally would. The module instantly blocks the cylinder deactivation signals. It does this without flashing or rewriting the factory software. You are now ready to drive. Experience immediate throttle response and consistent power on every single mile.
- Verify that no fault symbols display on your instrument cluster during startup.
- Drive the vehicle normally to observe the immediate elimination of transmission search lag.
- Enjoy the exhaust note which remains deep and steady without awkward four cylinder drone.
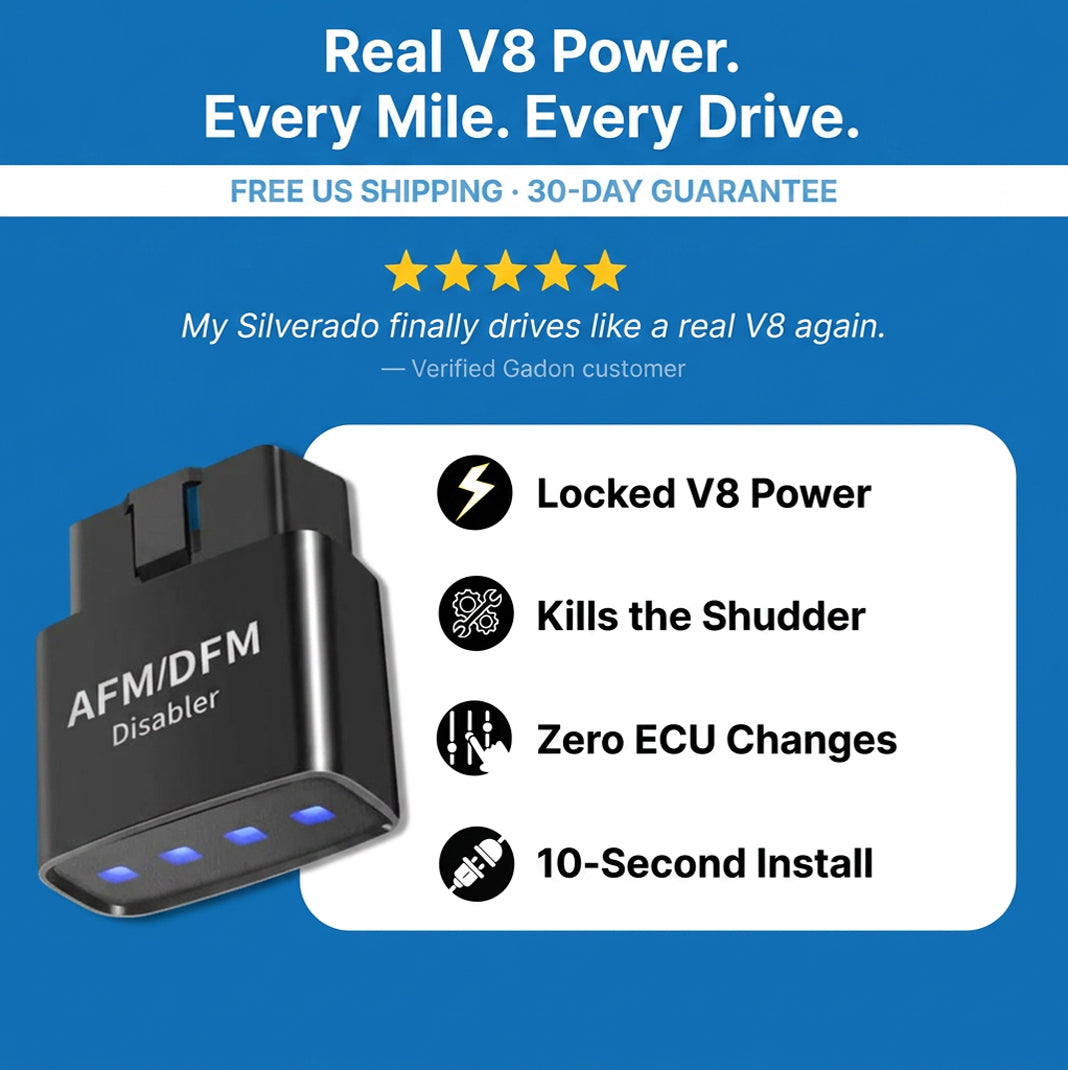
Gadon™ AFM/DFM Disabler
This smart module blocks the V4 mode of your GM vehicle, preventing sudden hesitations, oil burning issues, and devastating lifter collapses. Easy to install and remove, it preserves the health of your engine while protecting your original factory warranty.
Advanced Tips: Understanding AFM/DFM on GM Vehicles
Active Fuel Management and Dynamic Fuel Management are technologies designed to shut down cylinders under light load conditions. However, this process leads to uneven wear on internal components, high oil consumption, and noticeable transmission shudder during transitions.

To fully protect your vehicle, you must understand how these systems work. Knowledge of the internal mechanics helps you make informed maintenance decisions. It ensures your truck remains reliable for many miles.
How Cylinder Deactivation Causes Lifter Failure
The primary cause of lifter failure is the design of the lifter itself. Standard lifters are solid metal cylinders. AFM and DFM lifters have internal locking pins. These pins are controlled by high-pressure oil from the Valve Lifter Oil Manifold.

When the computer commands V4 mode, solenoids direct oil to collapse the lifter. This keeps the intake and exhaust valves closed. However, the piston continues to move up and down. This creates a vacuum inside the deactivated cylinder. The vacuum pulls oil past the piston rings.
This oil burns when the cylinder reactivates. It leaves sticky carbon deposits on the piston rings and valves. The carbon eventually jams the locking pins in the lifter. When a pin jams, the lifter cannot lock back into V8 mode. The loose components collide at high speeds inside the valve train. This causes the ticking sound that truck owners dread. It soon leads to a catastrophic mechanical failure.
Eliminating Transmission Shudder at Cruising Speeds
Another major complaint among GM truck owners is transmission shudder. This occurs most frequently at cruising speeds between thirty-five and sixty miles per hour. Drivers describe it as driving over rumble strips.
The shudder is caused by the torque converter clutch slipping. The engine computer commands this slip to isolate the cabin from V4 vibrations. Because the engine lacks torque in V4 mode, the transmission continuously searches for the right gear. This constant shifting creates immense heat.
Heat is the principal enemy of transmission fluid. It degrades the fluid and damages internal clutches. By keeping your truck in full V8 mode, the engine produces consistent torque. The computer no longer needs to command excessive torque converter slip. This completely eliminates the shudder and extends transmission life.
Troubleshooting Common Issues with Cylinder Deactivation Modules
If you encounter issues with your module, check the OBD2 port fuse, verify that you plugged the device in firmly, and remember to disconnect it before leaving your vehicle parked for extended periods to avoid minor battery drain.
Most users experience zero issues with their disabler modules. However, understanding how to troubleshoot minor anomalies is very helpful. It saves you time and prevents unnecessary stress.
-
Why do the indicator lights fail to illuminate?
If the lights do not turn on, the most common culprit is a blown fuse. The OBD2 port receives power from a specific fuse under the hood. On many trucks, this fuse is shared with the cigarette lighter. Check your owner manual to find the exact fuse location. Replace any blown fuses to restore power to the port. -
Will the module drain my vehicle battery?
The module draws a very small amount of standby current. It is highly efficient. However, if you plan to leave your truck parked for more than two consecutive weeks, we recommend unplugging it. This simple precaution ensures your battery remains fully charged and ready. -
Should I disconnect the module before vehicle service?
Yes, we highly recommend unplugging the module before visiting a dealership. The module leaves zero footprint on the engine control unit. By unplugging it, you prevent diagnostic tools from detecting the device. This keeps your factory warranty completely safe and secure. -
What if my truck displays a check engine light?
In rare cases, plugging the module in while the ignition is on can trigger a temporary communication fault. If this happens, turn off the engine and unplug the module. Leave the vehicle off for five minutes. Plug the module back in firmly, then start the engine. The code should clear automatically.
Which Gadon™ AFM/DFM Disabler Package is Right for You? Expert Advice
Selecting the correct package depends on the number of GM vehicles in your household or fleet. Gadon.store offers tailored packages ranging from single units for personal trucks to discounted bulk packages for family fleets and commercial workshops.
We offer several packages to suit different needs. Each package is designed to provide maximum value and protection. Review the options below to find your perfect fit.
| Product Package | Target User | Included Items | Reference Price |
|---|---|---|---|
| 1 Pack | Single Vehicle Owners | 1x Gadon™ AFM/DFM Disabler | 99.99 USD with WELCOME code |
| 2 Packs (Highly Preferred) | Families or Dual GM Trucks | 2x Gadon™ AFM/DFM Disablers | Fifteen Percent Discount |
| 3 Packs (Excellent Value) | Work Fleets and Shops | 3x Gadon™ AFM/DFM Disablers | Twenty Five Percent Discount |
| Return Policy | All Orders | No questions asked refund | 90 Days Guarantee |
| Worldwide Shipping | All Orders | Tracked Delivery | Free |
| Compatibility Check | All Customers | Two Minute Verification | Free via WhatsApp |
| Technical Consultation | All Customers | Via Hotline: +1 813-408-1627 | Free |
| After-Sales Support | Lifetime | Email and Phone support | Free |
When reviewing our package options, remember that each choice is protected by our industry leading ninety day warranty. This allows you to experience the performance upgrades on your daily routes with zero financial risk.
Need Help Checking Vehicle Compatibility? Gadon.store is Ready 24/7
In just 2 minutes, our expert team can confirm if the Gadon™ AFM/DFM Disabler fits your exact year and model.
Quick FAQs on Gadon AFM/DFM Disablers
Gadon AFM/DFM disablers are engineered to safely keep your GM truck in V8 mode without flashing the ECU. They are fully compatible with active fuel management and dynamic fuel management systems and install in seconds with zero diagnostic trouble codes.
-
Will it void my GM warranty or trigger a Check Engine Light?
No. The Gadon disabler does not reprogram your ECU or flash the computer. Simply unplug it before taking it to the dealership, and it leaves zero trace. Your factory warranty stays fully intact and it will not trigger a check engine light. -
Will it fit my specific truck model?
Yes, it is compatible with over seventy GM models manufactured across various model runs, including the Silverado, Tahoe, Sierra, Yukon, Escalade, and Suburban. It works with both V6 and V8 engines equipped with active fuel systems. -
Will this actually save my engine from expensive repairs?
Yes. Cylinder deactivation is the leading cause of premature lifter failure in these engines. By keeping the engine firing on all cylinders, the Gadon device prevents the uneven wear that leads to expensive engine rebuilds. -
When will I feel the difference while driving?
You will notice the difference within the first mile. Most drivers report an immediate elimination of shudder at cruising speeds, smoother throttle response, stronger acceleration, and an overall better driving experience. -
How hard is the installation process?
It takes less than ten seconds. You need absolutely no tools and no mechanical experience. If you can plug a charger into your phone, you can plug the Gadon module into your truck OBD2 port.
Protect Your GM Engine and Regain Full V8 Power with Gadon.store
Regain complete control over your driving experience and safeguard your GM truck today. By disabling cylinder deactivation with a premium Gadon disabler, you eliminate performance hesitation and avoid disastrous lifter failure.
At Gadon.store, we provide a reliable, plug-and-play solution that unleashes your engine true V8 potential while protecting it from expensive lifter failures. We are committed to high-quality performance modules, zero ECU tracing, and excellent customer support. Upgrade your ride and drive with confidence.
Call our support hotline now at +1 813-408-1627 or order directly from our website to secure your vehicle today!
Disclaimer: The instructions in this article are based on practical experience with GADON STORE products. Always ensure your vehicle is parked safely before interacting with the OBD2 port. Please contact contact@gadon.store for detailed support regarding your specific GM model compatibility. Note: The guidance and prices in this article are for reference at the time of publishing and are subject to change. Please contact Gadon.store directly for the most current information.