Silverado Active Grille Shutters: Problems and Fixes
Active grille shutters are critical aerodynamic components designed to optimize airflow and engine temperature in your GM truck, yet they frequently malfunction and cause frustrating dashboard warnings. This in-depth guide from the experts at gadon.store provides a detailed technical breakdown of common failures along with pro techniques for ensuring your vehicle runs safely and efficiently, helping you master the repair process while protecting your V8 engine from related performance issues and extending your engine lifespan.
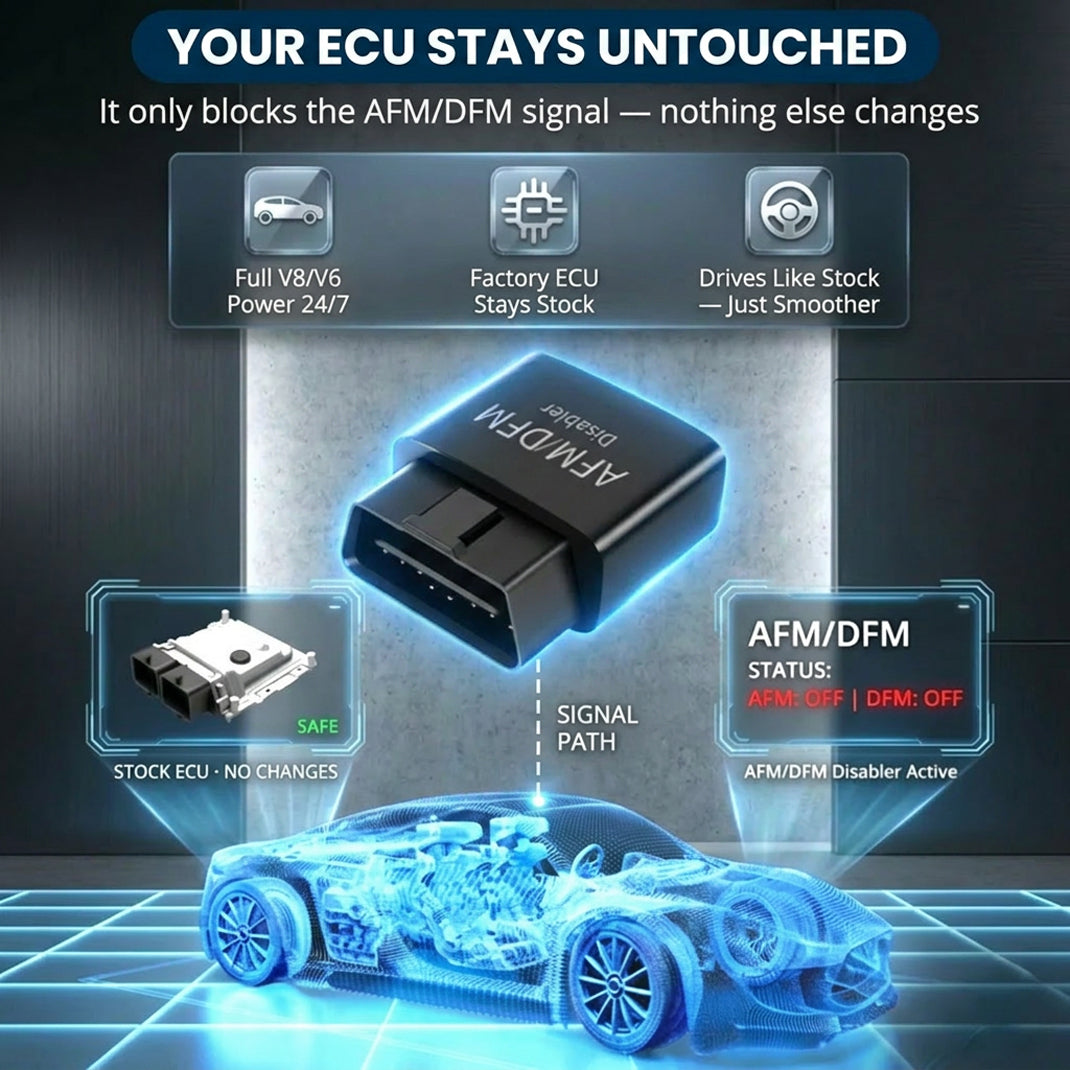
Gadon™ AFM/DFM Disabler
This compact OBD2 plug-in device keeps your GM engine operating in full V8 mode. It prevents rough shifting, torque converter shudder, and saves you from 5000 dollar plus lifter repair bills without reprogramming your ECU. Our team at Gadon.store is ready to help you confirm compatibility for your vehicle.
Why Proper Active Grille Shutters Maintenance is Crucial? A Direct Impact on V8 Performance and Engine Lifespan
Maintaining the health of your active grille shutters is vital because these components directly influence the thermal management of your 5.3L or 6.2L V8 engine. When shutters become stuck in the closed position, the lack of airflow leads to rapid temperature spikes, which can degrade oil quality and accelerate the wear of sensitive internal parts like lifters. Conversely, shutters stuck open prevent the engine from reaching its optimal operating temperature, leading to poor fuel atomization and potential carbon buildup.

Understanding the risks of neglected grille shutters helps you avoid secondary engine damage. Excessive heat is a primary enemy of the Active Fuel Management system, as high oil temperatures can compromise the hydraulic pressure required to keep lifters functioning correctly. By ensuring your cooling system and aerodynamic shutters are in peak condition, you provide the stable environment necessary for performance modules to work effectively.
Using a Gadon AFM/DFM disabler correctly ensures your GM engine stays in full V8 mode, delivering smooth, lag-free performance and extending the engine lifespan by preventing costly 5000 dollar plus lifter failures caused by constant cylinder switching and excessive heat stress.
- • Temperature Stability: Proper shutter operation maintains a consistent 210 degree coolant temperature for optimal combustion.
- • Aerodynamic Efficiency: Shutters reduce drag at highway speeds, which balances the load on the transmission and torque converter.
- • Lifter Protection: Preventing overheating protects the thin oil passages that lubricate the AFM and DFM lifter assemblies.
- • Code Prevention: A healthy shutter motor prevents the P059F check engine light from disabling remote start and other comfort features.
Need Help Checking Vehicle Compatibility? Gadon.store is Ready 24/7
In just 2 minutes, our expert team can confirm if the Gadon™ AFM/DFM Disabler fits your exact year and model.
A Detailed 3-Step Guide to Using Diagnostic Tools for GM Owners
When dealing with active grille shutters and engine performance, precision is key. Most owners benefit from using a plug and play approach to monitor and manage their truck systems. Whether you are clearing an aerodynamic trouble code or installing a performance module to protect your V8 engine, following a standardized protocol ensures safety and reliability. The following steps outline how to integrate professional tools into your maintenance routine without requiring extensive mechanical experience or permanent modifications to your factory software.
Step 1: Unbox and Locate the OBD2 Port
First, locate the OBD2 diagnostic port inside your GM truck or SUV, usually found under the driver side dashboard near the hood release lever. Ensure your vehicle engine is completely turned off before proceeding. This port is the gateway to your vehicle Engine Control Unit and allows for the seamless integration of monitoring tools and disabler modules. Checking this area for debris or loose wiring is a proactive way to ensure a solid electrical connection for any device you plan to install.
Step 2: Plug the Device Securely
Take your Gadon™ AFM/DFM Disabler and push it firmly into the port. There are no tools required for this process. You will notice the indicator lights flash, confirming it has successfully connected to the ECU. This connection allows the device to communicate with the truck software to maintain full power mode. If you are diagnosing shutters, this is also where you would connect a scan tool to read the specific P059F or P05A0 performance codes that indicate a shutter motor failure or mechanical obstruction.
Step 3: Start the Engine and Experience Full V8 Power
Start your engine. The device instantly blocks the cylinder deactivation signals without rewriting the factory software. You can now drive normally, experiencing immediate smoother throttle response, no lag, and consistent V8 power on every drive. By keeping the engine in a steady state, you also reduce the thermal cycling that often stresses the active grille shutters. This holistic approach to truck health ensures that both the aerodynamic and internal mechanical systems operate in harmony for maximum longevity.
Advanced Tips: Understanding AFM/DFM on GM Vehicles
The complexity of modern General Motors vehicles involves a sophisticated interplay between fuel management and aerodynamics. Systems like Active Fuel Management and Dynamic Fuel Management are designed to save fuel, but they introduce significant mechanical complexity. When these systems fail, the repair costs are often staggering. By understanding the root causes of these issues, owners can take preemptive action to save thousands of dollars and ensure their Silverado or Sierra remains on the road for hundreds of thousands of miles without a major rebuild.
How Cylinder Deactivation Causes Lifter Failure
The constant switching between V4 and V8 modes creates uneven wear on the active lifters. Over time, this leads to premature lifter failure, bent pushrods, and costly engine rebuilds that can exceed 5000 dollars. The mechanical locking pins inside the AFM lifters are prone to sticking, especially if oil changes are missed or if the engine runs too hot due to a failed active grille shutter assembly. Eliminating the switching process is the most effective way to preserve the integrity of the valvetrain and prevent catastrophic engine damage.

Eliminating Transmission Shudder at Cruising Speeds
Many drivers experience a noticeable shudder or vibration at 35 to 60 mph when the vehicle enters V4 mode. This occurs because the torque converter must compensate for the uneven power pulses of a four cylinder engine in a heavy truck frame. By keeping the engine in full cylinder mode, the Gadon module balances the torque, eliminating the awkward gear searching behavior entirely. This provides a much more refined driving experience and prevents premature wear on the torque converter clutch lining, which is another common GM failure point.
| Issue Type | Common Symptoms | Estimated Repair Cost | Gadon Store Solution |
|---|---|---|---|
| AFM Lifter Collapse | Ticking noise, misfire, CEL | 3500 - 6000 USD | AFM Disabler Module |
| Grille Shutter Failure | P059F code, overheating | 600 - 1200 USD | Cleaning or Replacement |
| Transmission Shudder | Vibration at 45 mph | 1500 - 4000 USD | V8 Mode Persistence |
| ECU Software Glitch | Hesitation on acceleration | 250 - 500 USD | Zero Trace Plug-in |
| Oil Consumption | Blue smoke, low oil level | 2000 - 5000 USD | Prevent Cylinder Drop |
| Bent Pushrods | Engine knocking, power loss | 1200 - 2500 USD | Stable RPM Management |
| Torque Converter Wear | Slipping gears, overheating | 2000 - 4500 USD | Full V8 Torque Delivery |
| Vacuum Pump Leak | Hard brake pedal | 800 - 1500 USD | Technical Consultation |
Troubleshooting Common Issues with Active Grille Shutters
When your truck throws a code related to the front end aero system, it can be intimidating. However, most issues with active grille shutters can be diagnosed with a few simple checks. These shutters are exposed to the elements, meaning road debris, ice, and insects are the primary causes of mechanical failure. If you are experiencing a check engine light or seeing your transmission temperatures climb higher than normal, use the following guide to identify and resolve the problem before it leads to more expensive repairs.
- • Why is my P059F code appearing on the dash? → Solution: This usually indicates the shutter motor cannot reach its commanded position. Inspect the vanes for rocks or sticks that might be wedged in the assembly. Gently cleaning the area with low pressure water can often restore function.
- • Will a broken shutter motor affect my Gadon module? → Solution: While the shutter motor is a separate system, a failed shutter can cause the engine to run hotter. The Gadon module will continue to keep you in V8 mode, but we recommend fixing the shutters to ensure the engine stays within safe thermal limits.
- • Can I simply remove the shutters entirely? → Solution: Some owners choose to remove the plastic vanes for maximum cooling. While this stops the overheating, it will trigger a permanent check engine light unless the motor is left plugged in and moving freely.
- • Does cold weather affect shutter performance? → Solution: Yes, ice buildup can freeze the shutters shut. Always clear snow and ice from the front grille before driving in winter to prevent the motor from burning out while trying to open the frozen vanes.
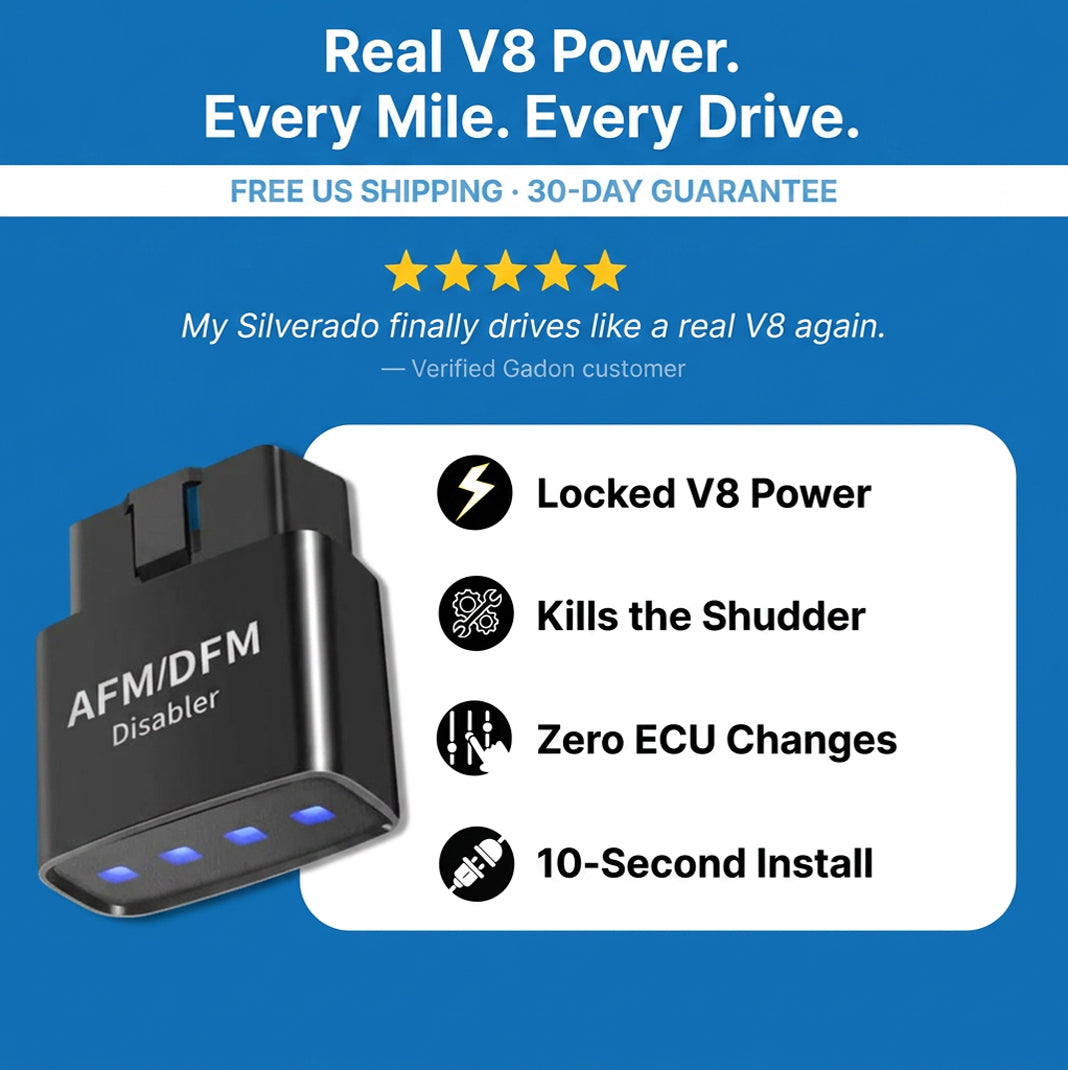
Gadon™ AFM/DFM Disabler
This smart module blocks your GM vehicle V4 mode, preventing sudden hesitations, oil burning issues, and devastating lifter collapses. Easy to install and remove, it preserves your engine health while protecting your factory warranty.
Which Gadon™ AFM/DFM Disabler Package is Right for You? Expert Advice
Choosing the right protection for your GM vehicle is a critical decision that depends on how many trucks you own and how you use them. At Gadon.store, we have designed several packages to meet the needs of single truck owners, multi-vehicle families, and professional fleet managers. Investing in these modules now is a fraction of the cost of a single engine repair. Our technical advisors recommend selecting a package that ensures every GM vehicle in your driveway is protected from the inherent flaws of the factory fuel management system.
For personal use on a single daily driver, the 1 Pack Gadon™ Disabler is the perfect choice. You will feel the V8 difference immediately and enjoy the peace of mind that comes with a stable valvetrain. If you own a Silverado and your spouse drives a Tahoe, the 2 Packs (Most Popular) is ideal, offering a 15 percent discount for a dual-vehicle upgrade. For commercial fleets or professional mechanics, the 3 Packs (Best Value) offers a 25 percent discount, ensuring all your work trucks are protected against lifter failure. Every purchase from Gadon.store includes our 90-Day Guarantee and Free Shipping. Use code WELCOME to get an extra 10 percent OFF today!
Quick FAQs on Gadon AFM/DFM Disablers
-
Q: Will it void my GM warranty or trigger a Check Engine Light?
A: No. The Gadon disabler does NOT reprogram your ECU or flash the computer. Simply unplug it before taking it to the dealership, and it leaves zero trace. Your factory warranty stays 100 percent intact and it will not trigger a light. -
Q: Will it fit my specific truck model?
A: Yes, it is compatible with over 90 GM models manufactured between 2005 and the current year, including the Silverado, Tahoe, Sierra, Yukon, Escalade, and Suburban. It works with V6 and V8 engines. -
Q: Will this actually save my engine from 5000 dollar plus repairs?
A: Absolutely. Cylinder deactivation is the leading cause of premature lifter failure. By keeping the engine firing on all cylinders uniformly, the Gadon device prevents the uneven wear that leads to expensive engine rebuilds. -
Q: When will I feel the difference while driving?
A: Within the first mile. Most drivers report an immediate elimination of shudder at cruising speeds, smoother throttle response, and stronger acceleration from a dead stop. -
Q: How hard is the installation process?
A: It takes less than 10 seconds. You need absolutely no tools and no mechanical experience. Simply plug the module into your truck OBD2 port located under the dashboard.
Need Help Checking Vehicle Compatibility? Gadon.store is Ready 24/7
In just 2 minutes, our expert team can confirm if the Gadon™ AFM/DFM Disabler fits your exact year and model.
Protect Your GM Engine and Regain Full V8 Power with Gadon.store
At Gadon.store, we provide a reliable, plug and play solution that unleashes your engine true V8 potential while protecting it from expensive lifter failures. We are committed to high quality performance modules, zero ECU tracing, and excellent customer support. Upgrade your ride and drive with confidence knowing your truck is optimized for both aerodynamics and mechanical durability. Call our support hotline now at +1 813-408-1627 or order directly from our website to secure your vehicle today!
Disclaimer: The instructions and prices in this article are for reference at the time of publishing and are subject to change. Please contact Gadon.store directly for the most current information. Always ensure your vehicle is parked safely before interacting with the OBD2 port. Contact Gadon.store for precise support for your GM vehicle.