Chevy 5.3 Water Pump Failure: Symptoms and Replacement
Chevy water pump failure symptoms typically manifest as visible coolant puddles under the engine or persistent overheating during idle periods on Silverado and Sierra trucks. This in-depth guide on water pump replacement will help you diagnose issues and execute repairs while introducing essential engine longevity tools from gadon.store. Mastering these cooling system fundamentals alongside disabling cylinder deactivation ensures your GM V8 remains reliable, powerful, and protected from catastrophic internal mechanical damage.
Gadon™ AFM/DFM Disabler
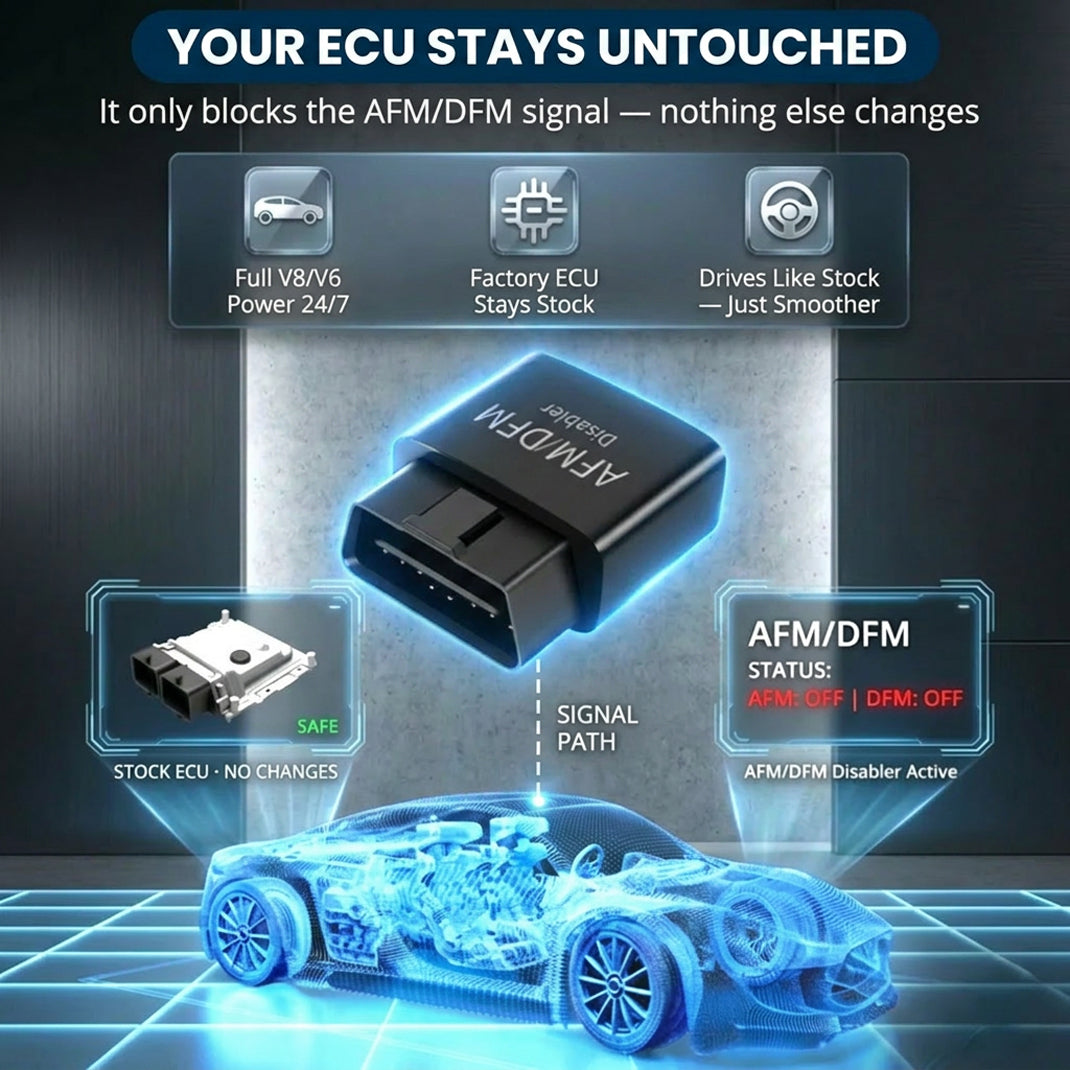
This compact OBD2 plug-in device keeps your GM engine operating in full V8 mode. It prevents rough shifting, torque converter shudder, and saves you from 5000 dollar plus lifter repair bills without reprogramming your ECU. Our team at Gadon.store is ready to help you confirm compatibility for your vehicle.
Why Proper Water Pump Maintenance is Crucial? A Direct Impact on V8 Performance and Engine Lifespan
Maintaining the cooling system of the 5.3L V8 engine is a fundamental requirement for every GM truck owner. The water pump serves as the heart of the thermal management system, circulating vital fluids to prevent aluminum cylinder heads from warping. When a pump fails, the temperature spikes rapidly, leading to head gasket failure and potential engine seizure. Beyond basic cooling, a stable operating temperature ensures that the complex Active Fuel Management systems function within their intended parameters. Excessive heat degrades oil quality faster, which directly contributes to the premature failure of sensitive lifters and camshafts.

Using a Gadon AFM/DFM disabler correctly ensures your GM engine stays in full V8 mode, delivering smooth, lag-free performance and extending the engine lifespan by preventing costly 5000 dollar plus lifter failures caused by constant cylinder switching. Thermal stability and mechanical consistency are the two pillars of high mileage performance for Silverado and Sierra platforms.
- • Prevention of cylinder head warping due to extreme thermal stress during pump failure.
- • Maintenance of consistent oil viscosity to protect the Active Fuel Management lifter galleries.
- • Reduction of strain on the serpentine belt system and associated pulleys.
- • Elimination of unexpected roadside breakdowns and expensive towing fees.
Need Help Checking Vehicle Compatibility? Gadon.store is Ready 24/7
In just 2 minutes, our expert team can confirm if the Gadon™ AFM/DFM Disabler fits your exact year and model.
A Detailed 3-Step Guide to Using Gadon Modules for GM Owners
The integration of performance modules into the GM electrical architecture is designed to be a seamless experience for truck enthusiasts. While mechanical repairs like water pump replacements take hours of labor and specialized tools, optimizing the engine software interface via the OBD2 port is an instantaneous process. This procedure allows the vehicle to maintain a constant V8 state, which reduces the rhythmic vibrations and thermal fluctuations that often plague the 5.3L and 6.2L powerplants. By following this protocol, you secure the mechanical integrity of the valvetrain while maximizing throttle response across all driving conditions.
Step 1: Unbox and Locate the OBD2 Port
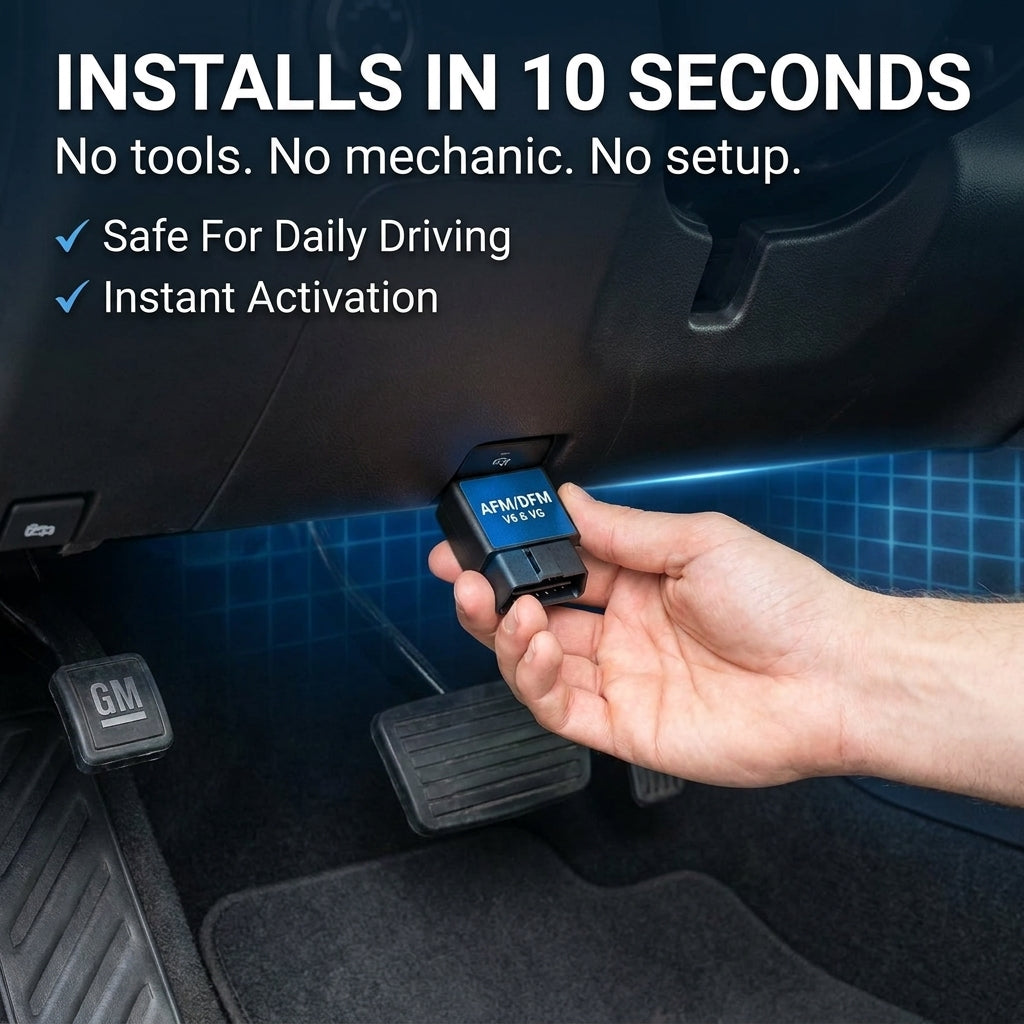
First, locate the OBD2 diagnostic port inside your GM truck or SUV, usually found under the driver side dashboard. Ensure the engine of the vehicle is completely turned off before proceeding. This port provides the direct communication link to the Engine Control Unit. The area should be free of obstructions to ensure a flush connection. Professional mechanics often use a flashlight to verify that the pins within the port are straight and clean before the first insertion of any module.
Step 2: Plug the Device Securely
Take your Gadon™ AFM/DFM Disabler and push it firmly into the port. There are no tools required for this installation. You will notice the indicator lights flash, confirming it has successfully connected to the ECU architecture. The device is engineered to fit snugly, preventing it from vibrating loose during off-road excursions or high-speed highway travel. This physical connection allows the module to send a high-frequency signal that prevents the cylinder deactivation command from reaching the solenoids.
Step 3: Start the Engine and Experience Full V8 Power
Start the engine. The device instantly blocks the cylinder deactivation signals without rewriting the factory software. You can now drive normally, experiencing immediate smoother throttle response, no lag, and consistent V8 power on every drive. The transition between power states is eliminated, meaning the cooling system and oil pump maintain a steady flow rate consistent with full engine operation. This stability is key to preventing the wear patterns typically seen in water pump bearings on vehicles that cycle power modes frequently.
Advanced Tips: Understanding AFM/DFM on GM Vehicles
Active Fuel Management and Dynamic Fuel Management are technologies designed to improve fuel economy by deactivating specific cylinders under light load conditions. While the concept is efficient on paper, the physical reality within the engine block is different. When cylinders are deactivated, the temperature distribution across the engine block becomes uneven. This thermal imbalance can stress the cooling system, causing the water pump to work harder to equalize temperatures. Furthermore, the mechanical vibration caused by the unbalanced firing order creates harmonic resonance that can lead to premature failure of belt-driven components.
How Cylinder Deactivation Causes Lifter Failure
The constant switching between V4 and V8 modes creates uneven wear on the active lifters. Over time, this leads to premature lifter failure, bent pushrods, and costly engine rebuilds that can exceed 5000 dollars. The collapsible lifters used in these systems are prone to sticking in the bore when oil pressure fluctuates during the mode transition. By maintaining full V8 operation, the oil pressure remains high and stable, keeping all lifters properly lubricated and pressurized at all times.
Eliminating Transmission Shudder at Cruising Speeds
Many drivers experience a noticeable shudder or vibration at 35 to 60 miles per hour. By keeping the engine in full-cylinder mode, the Gadon module balances the torque, eliminating the awkward gear-searching behavior entirely. This shudder is often misdiagnosed as a failing torque converter, but it is frequently the result of the engine struggling to provide enough torque while in V4 mode. Full V8 engagement provides the necessary rotational mass to keep the drivetrain smooth and responsive.
Gadon™ AFM/DFM Disabler
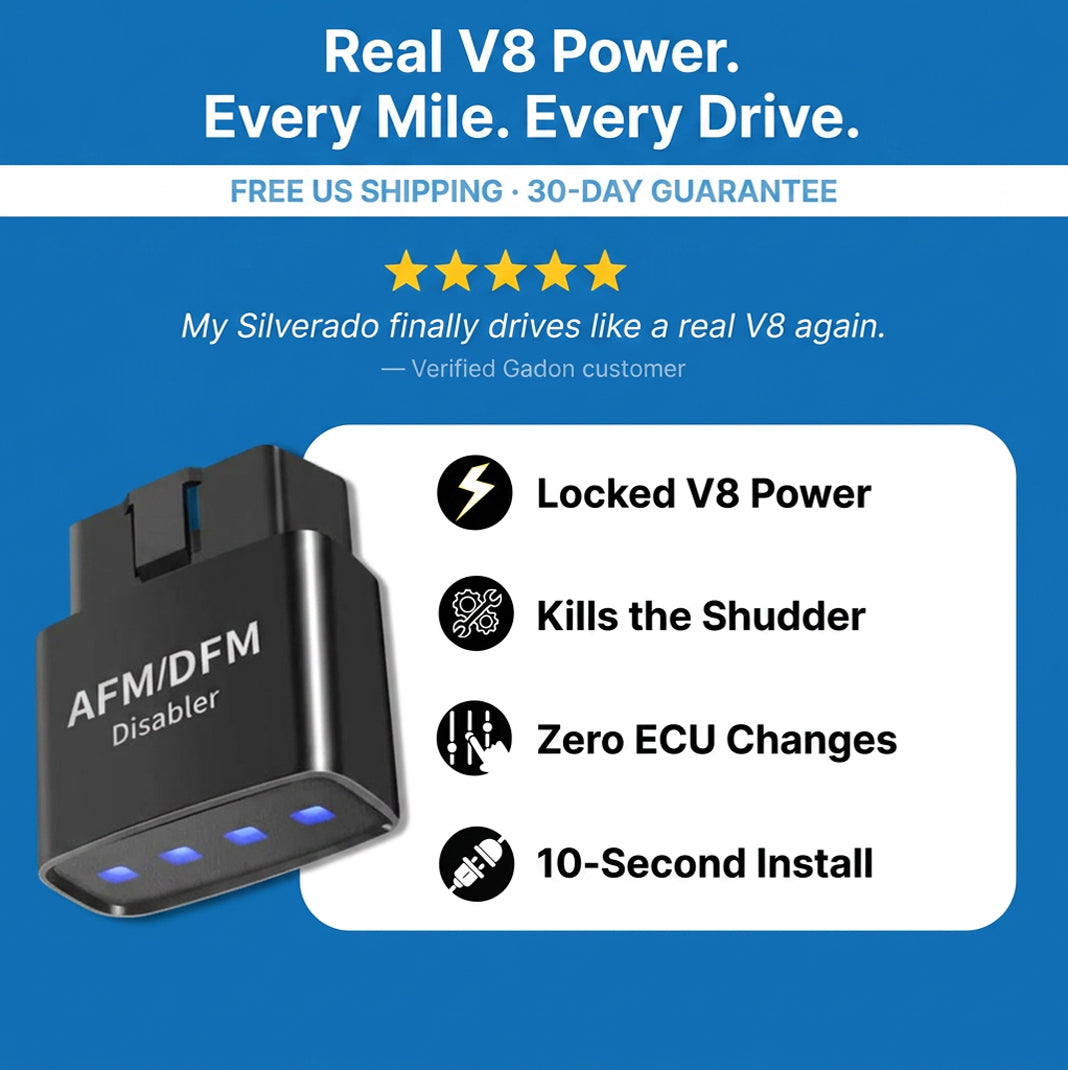
This smart module blocks your GM vehicle V4 mode, preventing sudden hesitations, oil burning issues, and devastating lifter collapses. Easy to install and remove, it preserves your engine health while protecting your factory warranty.
Troubleshooting Common Issues with Water Pumps and Performance Modules
Diagnosing issues promptly can save thousands of dollars in secondary repairs. Whether you are dealing with a cooling system leak or a diagnostic port connectivity issue, the solutions are often straightforward when approached with technical precision. Every purchase from Gadon.store includes our 90-Day Guarantee and Free Shipping. Use code WELCOME to get an extra 10 percent OFF today. Reliability is not just a feature; it is a commitment we make to every customer owning a GM truck or SUV.
- • Why are the lights on the device not turning on? Solution: Check the OBD2 fuse of the vehicle, which is often shared with the cigarette lighter. If the fuse is blown, the port will not provide power to the Gadon module.
- • Will the module drain the battery of my truck? Solution: The device draws a very minimal amount of power on standby. However, if you plan to leave your truck parked and undriven for several weeks, we recommend unplugging it to be safe.
- • Do I need to unplug it before taking it to the dealership? Solution: Yes, simply unplug the Gadon disabler before your service visit. Since it leaves zero trace and does not flash the ECU, your factory warranty remains 100 percent intact.
- • How do I identify a water pump weep hole leak? Solution: Inspect the front of the engine block for orange or pink crusty residue. This indicates that the internal seal of the pump has failed and replacement is imminent.
- • Can a faulty thermostat cause water pump failure? Solution: A stuck thermostat creates backpressure and excessive heat, which can cause the pump seals to fail prematurely under the strain.
Module Pricing and Technical Considerations for GM Owners
Understanding the financial implications of engine maintenance is vital for long-term ownership. The cost of a professional water pump replacement ranges from 600 to 1200 dollars depending on the labor rates in your region. In contrast, the internal damage caused by an AFM failure can exceed 8000 dollars for a complete engine replacement. Investing in preventative technology represents a massive cost saving for the consumer. Below is a detailed breakdown of the options available for protecting your vehicle through the Gadon performance ecosystem.

| Product Package | Target User | Included Items | Reference Price |
|---|---|---|---|
| 1 Pack | Single Vehicle Owners | 1x Gadon™ AFM/DFM Disabler | 99.99 dollars with WELCOME code |
| 2 Packs Popular | Families / Dual GM Trucks | 2x Gadon™ AFM/DFM Disablers | 15 percent OFF Bundle |
| 3 Packs Best Value | Work Fleets and Shops | 3x Gadon™ AFM/DFM Disablers | 25 percent OFF Bundle |
| Return Policy | All Orders | Full refund guarantee | 90 Days Protection |
| Shipping Cost | All Orders | Tracked Delivery | Free Worldwide |
| Compatibility Check | All Customers | 2 Minute Verification | Free via WhatsApp |
| Expert Support | All Customers | Technical Hotline | Free Consultations |
| Lifter Protection | V8 Engines | Full V8 Mode Activation | Saves 5000 dollars plus |
Which Gadon™ AFM/DFM Disabler Package is Right for You? Expert Advice
Selecting the appropriate package depends on your fleet size and vehicle utilization goals. For the enthusiast with a single daily driver, the 1 Pack Gadon Disabler offers immediate peace of mind and mechanical protection. Families who utilize both a Chevy Silverado for work and a GMC Yukon for travel will find the 2 Pack most beneficial, providing a significant discount while securing both vehicles against valvetrain failures. Professional shops and fleet managers who maintain multiple units should opt for the 3 Pack to ensure every asset in the fleet remains in full power mode, reducing downtime and maintenance costs across the board.
Quick FAQs on Gadon AFM/DFM Disablers
- Will it void my GM warranty or trigger a Check Engine Light? No. The Gadon disabler does not reprogram your ECU or flash the computer. Simply unplug it before taking it to the dealership and it leaves zero trace. Your factory warranty stays 100 percent intact and it will not trigger a check engine light under normal operating conditions.
- Will it fit my specific truck model? Yes, it is compatible with over 90 GM models including the Silverado, Tahoe, Sierra, Yukon, Escalade, and Suburban. It works flawlessly with both V6 and V8 engines equipped with AFM or DFM systems.
- Will this actually save my engine from 5000 dollar plus repairs? Absolutely. Cylinder deactivation is the leading cause of premature lifter failure in GM engines. By keeping the engine firing on all cylinders uniformly, the Gadon device prevents the uneven wear that leads to expensive engine rebuilds.
- When will I feel the difference while driving? Within the first mile of travel. Most drivers report an immediate elimination of shudder at cruising speeds and smoother throttle response from a dead stop.
- How hard is the installation process? It takes less than 10 seconds. You need absolutely no tools and no mechanical experience. If you can plug a charger into your phone, you can install this module.
Need Help Checking Vehicle Compatibility? Gadon.store is Ready 24/7
In just 2 minutes, our expert team can confirm if the Gadon™ AFM/DFM Disabler fits your exact year and model.
Protect Your GM Engine and Regain Full V8 Power with Gadon.store
At Gadon.store, we provide a reliable, plug and play solution that unleashes the true V8 potential of your engine while protecting it from expensive lifter failures. We are committed to high quality performance modules, zero ECU tracing, and excellent customer support. Upgrade your ride and drive with confidence knowing your cooling system and valvetrain are operating in perfect harmony. Call our support hotline now at +1 813-408-1627 or order directly from our website to secure your vehicle today!
Disclaimer: The instructions and prices in this article are for reference at the time of publishing and are subject to change. Please contact Gadon.store directly for the most current information. Always ensure your vehicle is parked safely before interacting with the OBD2 port. Contact Gadon.store for precise support for your GM vehicle compatibility.