Chevy 5.3 Valve Cover Replacement to Stop Oil Burn
Chevy valve cover replace procedures are often cited as the primary fix for excessive oil consumption in 5.3L V8 engines, but many owners discover that the root cause lies within the Active Fuel Management system. This in-depth guide on this topic will help you understand the relationship between PCV failures and cylinder deactivation while providing technical insights from gadon.store. Mastering these mechanical nuances ensures your vehicle maintains peak performance and avoids expensive repairs.
Need Help Checking Vehicle Compatibility? Gadon.store is Ready 24/7
In just 2 minutes, our expert team can confirm if the Gadon™ AFM/DFM Disabler fits your exact year and model.
Why Proper Chevy Valve Cover Replace is Crucial? A Direct Impact on V8 Performance and Engine Lifespan
Using a Gadon AFM/DFM disabler correctly ensures your GM engine stays in full V8 mode, delivering smooth, lag-free performance and extending the engine lifespan by preventing costly $5,000 plus lifter failures caused by constant cylinder switching. When the driver side valve cover experiences PCV baffle failure, it leads to a cascade of engine health issues that compromise performance.

Understanding the technical link between the valve cover and engine longevity is essential for every Silverado or Sierra owner. The original equipment manufacturer design for many 5.3L V8 engines included a PCV baffle that was prone to clogging and allowing excessive oil mist into the intake manifold. This problem is significantly amplified by the Active Fuel Management system. When the engine switches to V4 mode, the change in internal crankcase pressure can force even more oil through a compromised valve cover baffle, leading to blue smoke from the exhaust and carbon buildup on the intake valves.
- • Reduction in oil consumption by up to 70 percent after installing the updated baffle design.
- • Prevention of spark plug fouling which causes intermittent engine misfires and poor fuel economy.
- • Mitigation of carbon deposits on the piston rings which leads to permanent compression loss.
- • Protection of the catalytic converter from oil saturation and premature failure costs.
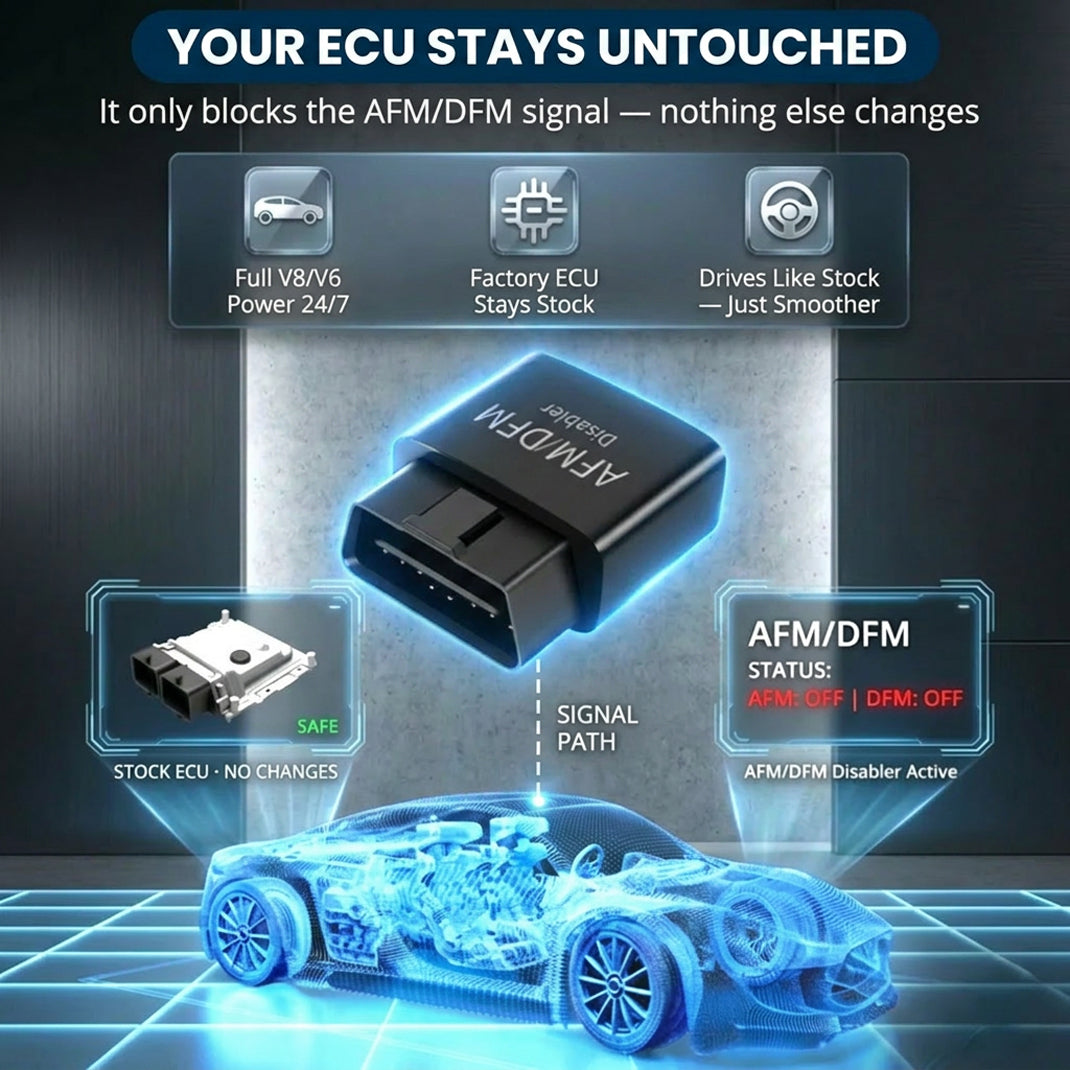
Gadon™ AFM/DFM Disabler
This compact OBD2 plug-in device keeps your GM engine operating in full V8 mode. It prevents rough shifting, torque converter shudder, and saves you from $5,000 plus lifter repair bills without reprogramming your ECU. Our team at Gadon.store is ready to help you confirm compatibility for your vehicle.
A Detailed 3-Step Guide to Using the Gadon AFM/DFM Disabler for GM Owners
Maintaining a high performance V8 engine requires more than just mechanical hardware updates; it requires smart electronic management. While replacing a valve cover addresses the symptom of oil consumption, disabling the cylinder deactivation system addresses the mechanical stress that causes these components to fail prematurely. The following guide explains how to integrate our plug and play technology into your vehicle maintenance routine in under ten seconds without any specialized tools or computer programming skills.
Step 1: Unbox and Locate the OBD2 Port
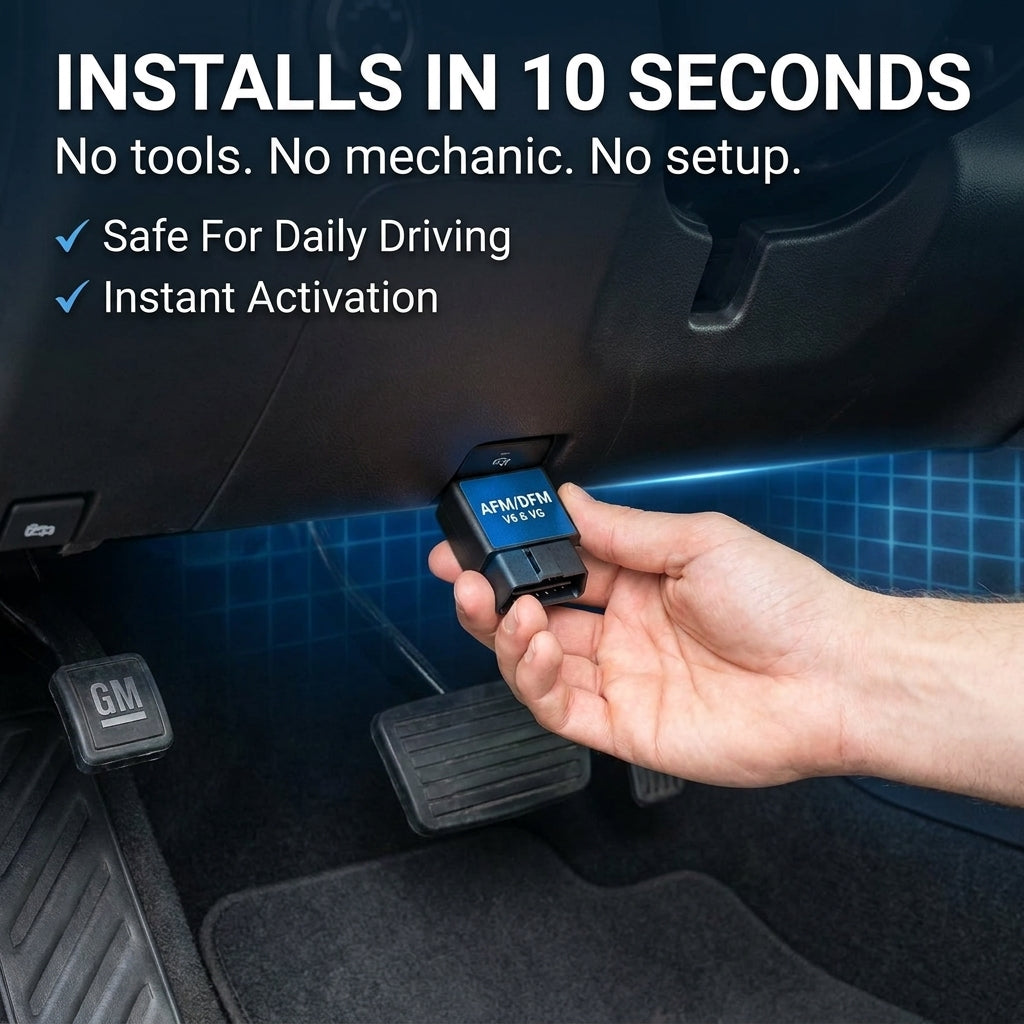
First, locate the OBD2 diagnostic port inside your GM truck or SUV, usually found under the driver side dashboard near the steering column. Ensure your vehicle engine is completely turned off and the key is removed from the ignition before proceeding with the installation. This 16-pin connector is the gateway to your vehicle Engine Control Unit and provides the necessary power and data signals for the Gadon module to communicate with the powertrain management system effectively. Cleaning the port area of any dust or debris ensures a stable electrical connection for the module LEDs to function correctly.
Step 2: Plug the Device Securely
Take your Gadon™ AFM/DFM Disabler and push it firmly into the OBD2 port until it is fully seated. There are no tools required for this process, making it a truly plug and play solution for truck owners. You will notice the indicator lights flash in a specific sequence, confirming it has successfully connected to the ECU and is drawing power. The module is designed with a low profile housing to ensure it does not interfere with your legs while driving, and the secure friction fit prevents it from vibrating loose during off-road use or heavy towing applications on rough terrain.
Step 3: Start the Engine and Experience Full V8 Power
Start your engine and observe the dashboard display. The device instantly blocks the cylinder deactivation signals without rewriting the factory software or leaving a digital footprint. You can now drive normally, experiencing immediate smoother throttle response, no more annoying lag when merging onto highways, and consistent V8 power on every drive. By preventing the engine from dropping into V4 mode, you eliminate the mechanical transition that causes torque converter shudder and uneven heat distribution across the cylinder heads, which are the primary catalysts for oil consumption issues and lifter collapse.
Advanced Tips: Understanding AFM/DFM on GM Vehicles
Active Fuel Management and Dynamic Fuel Management are complex systems designed to improve EPA fuel economy ratings, but they often come at a significant cost to the vehicle owner. These systems use high pressure oil solenoids to collapse the lifters on specific cylinders, effectively turning your V8 into a V4 or even a fractional engine during light load conditions. However, the constant cycling of these hydraulic components creates massive wear and tear that the original engineering did not fully account for over long term high mileage use.
How Cylinder Deactivation Causes Lifter Failure
The constant switching between V4 and V8 modes creates uneven wear on the active lifters and the camshaft lobes. When a cylinder is deactivated, the valves remain closed, trapped air acts as a spring, and the lifter is held in a collapsed state by oil pressure. Over time, the locking pins within these specialized lifters can fail, causing them to get stuck in the collapsed position. This leads to premature lifter failure, bent pushrods, and costly engine rebuilds that can exceed $5,000. Using a disabler ensures these pins remain locked in the V8 position, preventing the mechanical fatigue associated with tens of thousands of cycles per hour.
Eliminating Transmission Shudder at Cruising Speeds
Many drivers experience a noticeable shudder or vibration at 35 to 60 miles per hour, often mistaken for a transmission problem or an unbalanced tire. This is actually the result of the torque converter clutch trying to compensate for the reduced power pulses of the V4 mode. By keeping the engine in full cylinder mode, the Gadon module balances the torque output across the entire crankshaft rotation, eliminating the awkward gear searching behavior and the hunting sensation entirely. This not only improves driveability but also reduces the thermal load on the transmission fluid and the internal clutch packs of the gearbox.
Comparison of Repair Solutions and Long-Term Costs
Owners often struggle to decide between performing a Chevy valve cover replace or investing in electronic prevention. The table below illustrates the cost benefit analysis of various maintenance strategies for the 5.3L and 6.2L V8 platforms over a typical ownership cycle.

| Solution Method | Initial Cost | Prevention Level | Installation Time |
|---|---|---|---|
| Valve Cover Update | $150 - $300 | Low (Fixes symptom only) | 1 - 2 Hours |
| Gadon AFM Disabler | $99.99 | High (Prevents failure) | 10 Seconds |
| Full Lifter Replace | $3,500 - $5,000 | Corrective (Very late) | 3 - 5 Days |
| Engine Replacement | $7,000 - $10,000 | None (Catastrophic) | 1 - 2 Weeks |
| Spark Plug Swap | $100 - $200 | Temporary Fix | 1 Hour |
| Custom ECU Tune | $500 - $800 | Medium (Voids Warranty) | 2 Hours |
| Catch Can Install | $150 - $250 | Moderate (Oil filter) | 45 Minutes |
| Oil Consumption Test | $0 - $150 | Monitoring Only | 1000 Miles |
Troubleshooting Common Issues with the Gadon AFM/DFM Disabler
While our module is designed for maximum reliability and simplicity, users may occasionally encounter minor technical hurdles due to the varied electrical health of modern GM trucks. Most issues can be resolved by checking simple fuses or ensuring the device is correctly seated in the diagnostic port. We prioritize transparency and customer support to ensure your vehicle remains protected at all times.
- • Why are the lights on the device not turning on? Solution: Check your vehicle OBD2 fuse which is often shared with the cigarette lighter or accessory power outlet. If the fuse is blown, the port will not provide power to the Gadon module, rendering it unable to communicate with the ECU.
- • Will the module drain my truck battery? Solution: The device draws a very minimal amount of power on standby, roughly equivalent to a small LED. However, if you plan to leave your truck parked and undriven for several weeks, we recommend unplugging it to be safe and ensure peak battery voltage for starting.
- • Do I need to unplug it before taking it to the dealership? Solution: Yes, simply unplug the Gadon disabler before your service visit. Since it leaves zero trace and does not flash the ECU or modify the permanent software code, your factory warranty remains 100 percent intact and undetectable by dealer scan tools.
- • What if my check engine light comes on? Solution: The module itself does not trigger codes. If a light appears, it is likely due to an underlying mechanical issue or a loose connection. Unplug the module and use a scanner to read the code, or contact our support team for a compatibility check.
Need Help Checking Vehicle Compatibility? Gadon.store is Ready 24/7
In just 2 minutes, our expert team can confirm if the Gadon™ AFM/DFM Disabler fits your exact year and model.
Which Gadon™ AFM/DFM Disabler Package is Right for You? Expert Advice
Selecting the right protection package depends on your fleet size and vehicle usage patterns. Whether you are a dedicated truck enthusiast with a single daily driver or a business owner managing a fleet of work trucks, we have developed cost effective solutions to prevent engine failure across all your assets. Every purchase from Gadon.store includes our 90-Day Guarantee and Free Shipping. Use code WELCOME to get an extra 10 percent OFF today and secure your engine future.
- • For Multi-Vehicle Owners: If you own a Silverado and your spouse drives a Tahoe, the 2 Packs (Most Popular) is ideal, offering a 15 percent discount for a dual-vehicle upgrade. This ensures both family vehicles are protected from the risks of AFM failure simultaneously.
- • For Fleets and Workshops: For commercial fleets or professional mechanics, the 3 Packs (Best Value) offers a 25 percent discount, ensuring all your work trucks are protected against lifter failure and reducing long term maintenance overhead for your business operations.
- • For Personal Use: For a single truck owner, our 1 Pack provides immediate peace of mind and full V8 power for less than the cost of a single tank of premium fuel in many regions.
Quick FAQs on Gadon AFM/DFM Disablers
Will it void my GM warranty or trigger a Check Engine Light? No. The Gadon disabler does NOT reprogram your ECU or flash the computer. Simply unplug it before taking it to the dealership, and it leaves zero trace on the vehicle logs. Your factory warranty stays 100 percent intact and it will not trigger a check engine light during normal operation.
Will it fit my specific truck model? Yes, it is compatible with over 90 plus GM models manufactured between 2005 and 2026, including the Silverado, Tahoe, Sierra, Yukon, Escalade, and Suburban. It works with both V6 and V8 engines equipped with Active or Dynamic Fuel Management systems regardless of the trim level.
Will this actually save my engine from $5,000 plus repairs? Absolutely. AFM and DFM cylinder deactivation is the leading cause of premature lifter failure in GM engines. By keeping the engine firing on all cylinders uniformly, the Gadon device prevents the uneven wear and hydraulic stress that leads to $3,500 to $8,000 engine rebuilds.
When will I feel the difference while driving? Within the first mile of operation. Most drivers report an immediate elimination of shudder at cruising speeds, smoother throttle response when accelerating from a dead stop, and an overall better driving experience without the constant gear searching of the transmission.
How hard is the installation process? It takes less than 10 seconds. You need absolutely no tools and no mechanical experience. If you can plug a charger into your phone, you can plug the Gadon module into your truck diagnostic port under the dashboard easily.
Protect Your GM Engine and Regain Full V8 Power with Gadon.store
At Gadon.store, we provide a reliable, plug and play solution that unleashes your engine true V8 potential while protecting it from expensive lifter failures. We are committed to high quality performance modules, zero ECU tracing, and excellent customer support for every driver. Upgrade your ride and drive with confidence today. Call our support hotline now at +1 813-408-1627 or order directly from our website to secure your vehicle for the long road ahead.
Note: The guidance and prices in this article are for reference at the time of publishing and are subject to change. Please contact Gadon.store directly for the most current information. Always ensure your vehicle is parked safely before interacting with the OBD2 port. Contact Gadon.store for precise support for your GM vehicle compatibility.
Disclaimer: The instructions in this article are based on practical experience with GADON STORE products. Always ensure your vehicle is parked safely before interacting with the OBD2 port. Please contact contact@gadon.store for detailed support regarding your specific GM model compatibility.